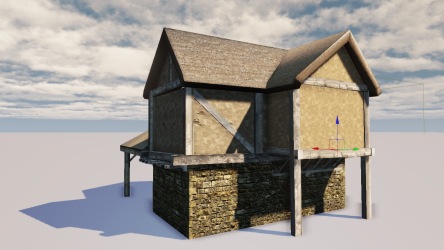
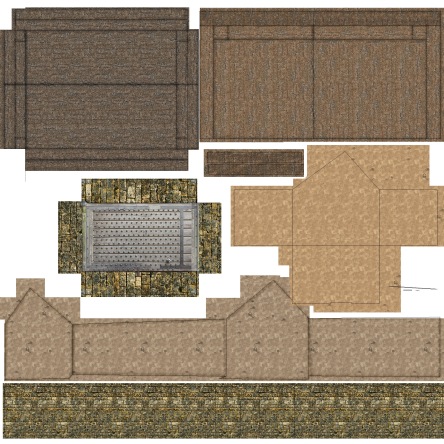
Having looked at my models in engine over a period of several weeks, as i populated the level – I begun no notice all the faults my models and textures were riddled with. This constant taunt shall now be answered with; aggressive no questions asked, extreme prejudice texturing. I was almost a beginner when I modelled and textured my ‘blacksmiths’, I am now at least competent at texturing if still a little amateurish. I will start by showing my original model, UV map and texture:
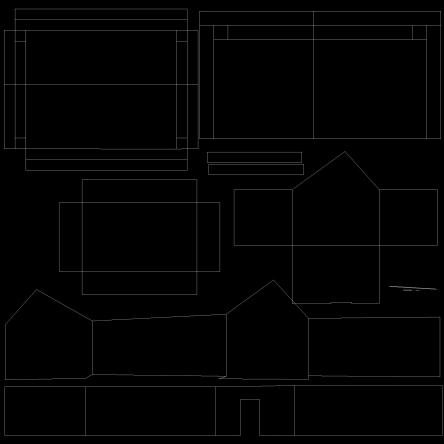
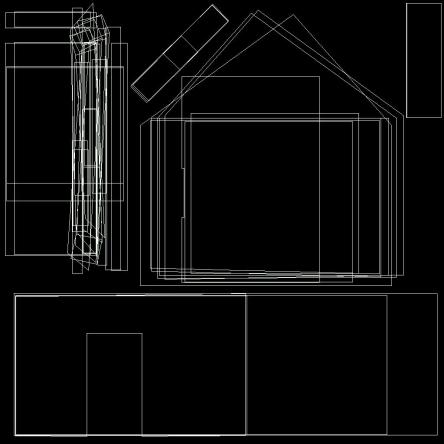
It is not entirely obvious from this distance, but when you are close to the model the texture begins to blur. The UV for this model is quite revealing:
This is pretty much the only way I could have mapped the UV at the time due to the way the UDK creates light maps using the diffuse map to work out where to apply shadows. This meant I couldn’t overlap any of the parts of the UV map or I would get lighting errors. As a knock on effect each part of my texture map was much smaller and lower quality. This is why i rendered a UV map of 2048 x 2048 pixels, twice as big as it should be. It is not necessarily a bad thing to use a UV map of this size, but for a relatively simple building such as this it is far from best practice . Larger UV maps are more CPU intensive, so best practice dictates that you always try to balance texture quality with CPU intensity. Generally the larger and more important a model is the larger the UV map and texture should be. I am constantly learning more efficient ways of texturing buildings. The best first step is to consider how you will create your UV while you are modelling Polycount is a good place to look at for picking up modelling and texturing tips and best practices.
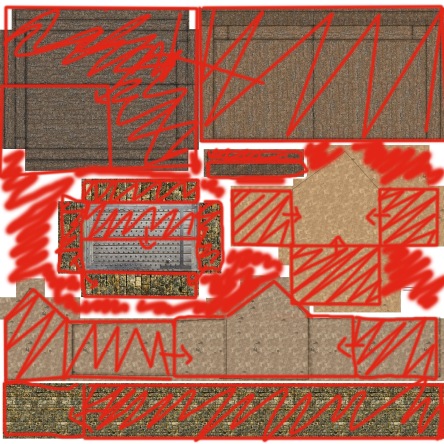
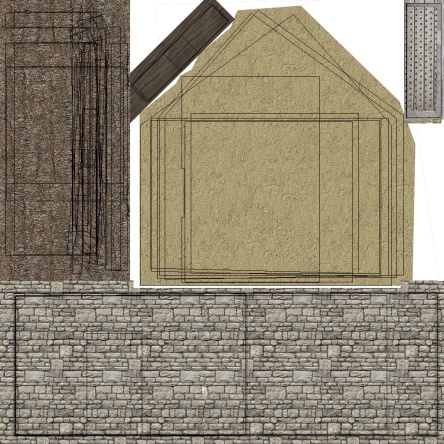
There is the map I created from the UV: Here is how inefficient it is:
Even without laying the UV on top of itself there are still lots of examples of white space being wasted, on a 2048 texture is space is quite large.
Here is the UV which I have created in place of the old one:
I have stacked all the UVs to allow for a more detailed texture. I have lined up the UVs where the edges need to line up. Here is my Texture:
The texture is by no means perfect – I am sure it would get some stern criticism Polycount. There is however a vast improvement on the last texture, the white space is a much smaller issue due to the texture being half the size of the previous one.
Here is the Smithy now:
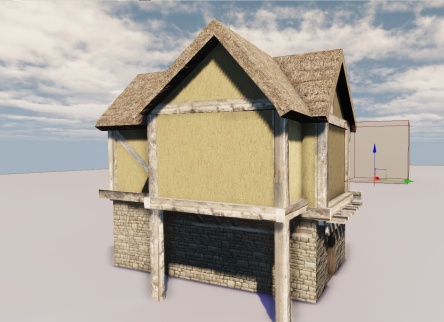 The changes may look minimal but the model now had a much smaller uv map, as well as having a better looking texture. For a fly though – which is what we are going to create, having a level that is not too CPU intensive is a priority.
